Android Studio for beginners and Android Installing Android Studio on 64-bit Windows 10
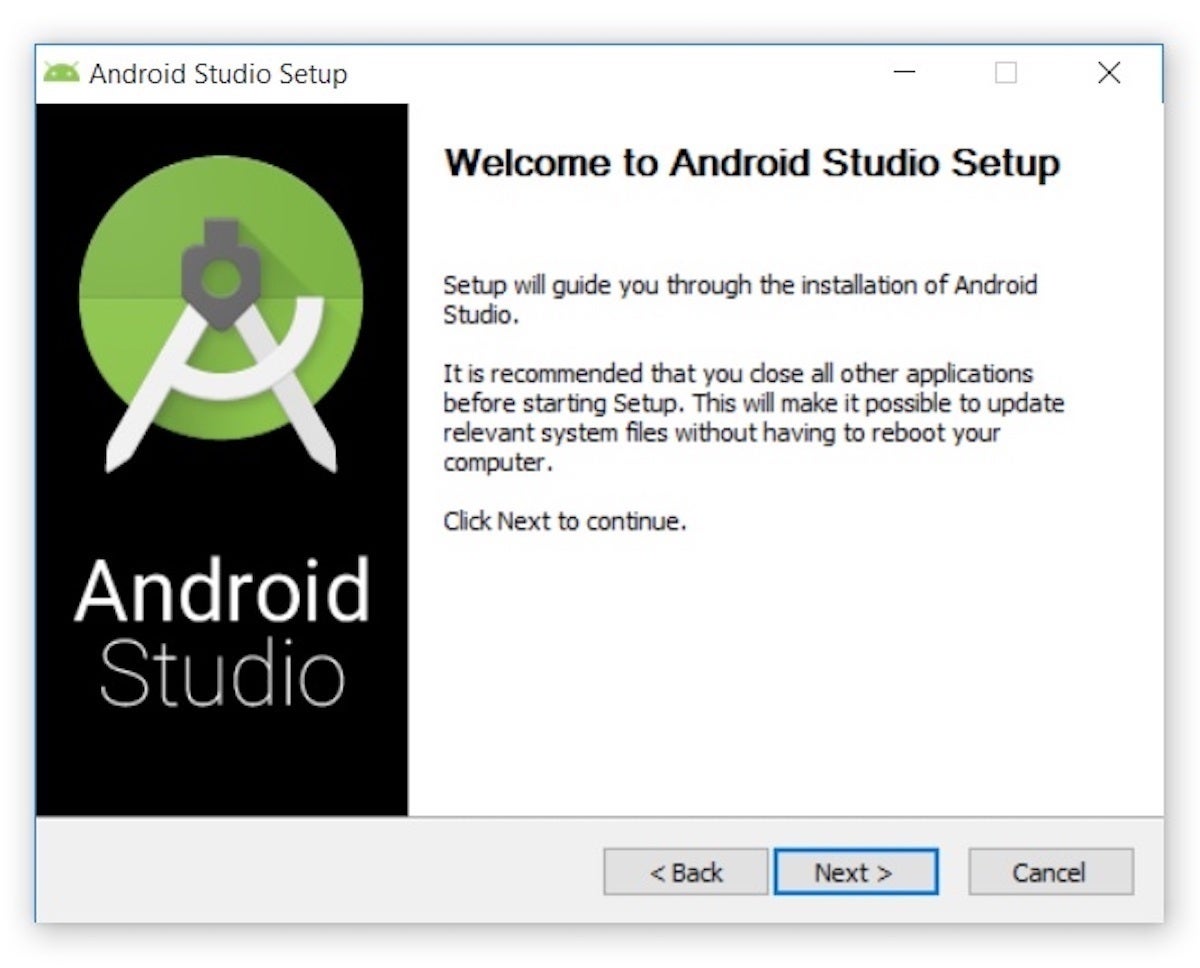
I launched android-studio-ide-193.6626763-windows.exe to start the installation process. The installer responded by presenting the Android Studio Setup dialog box shown in Figure 1.
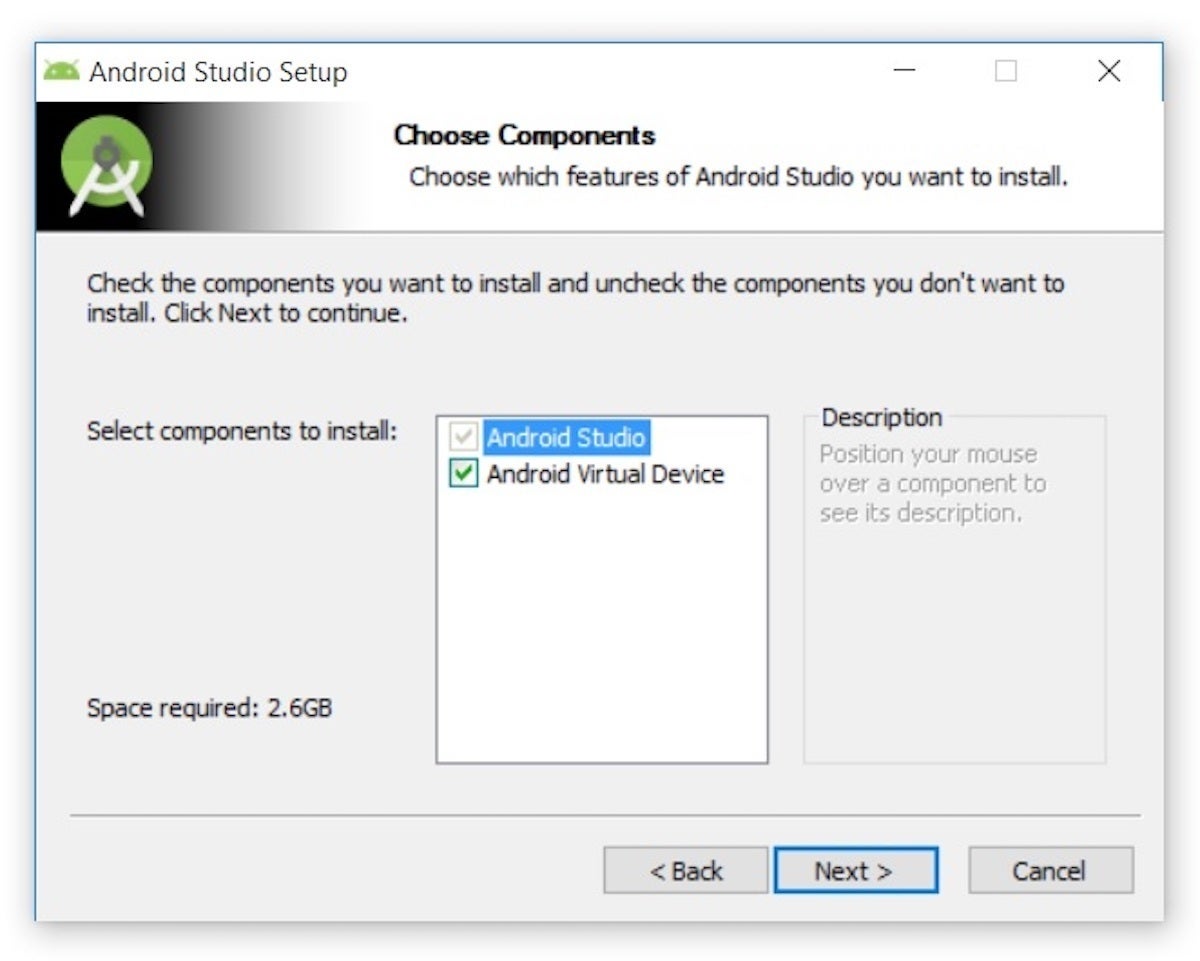
Clicking Next took me to the following panel, which provides the option to decline installing an Android Virtual Device (AVD).
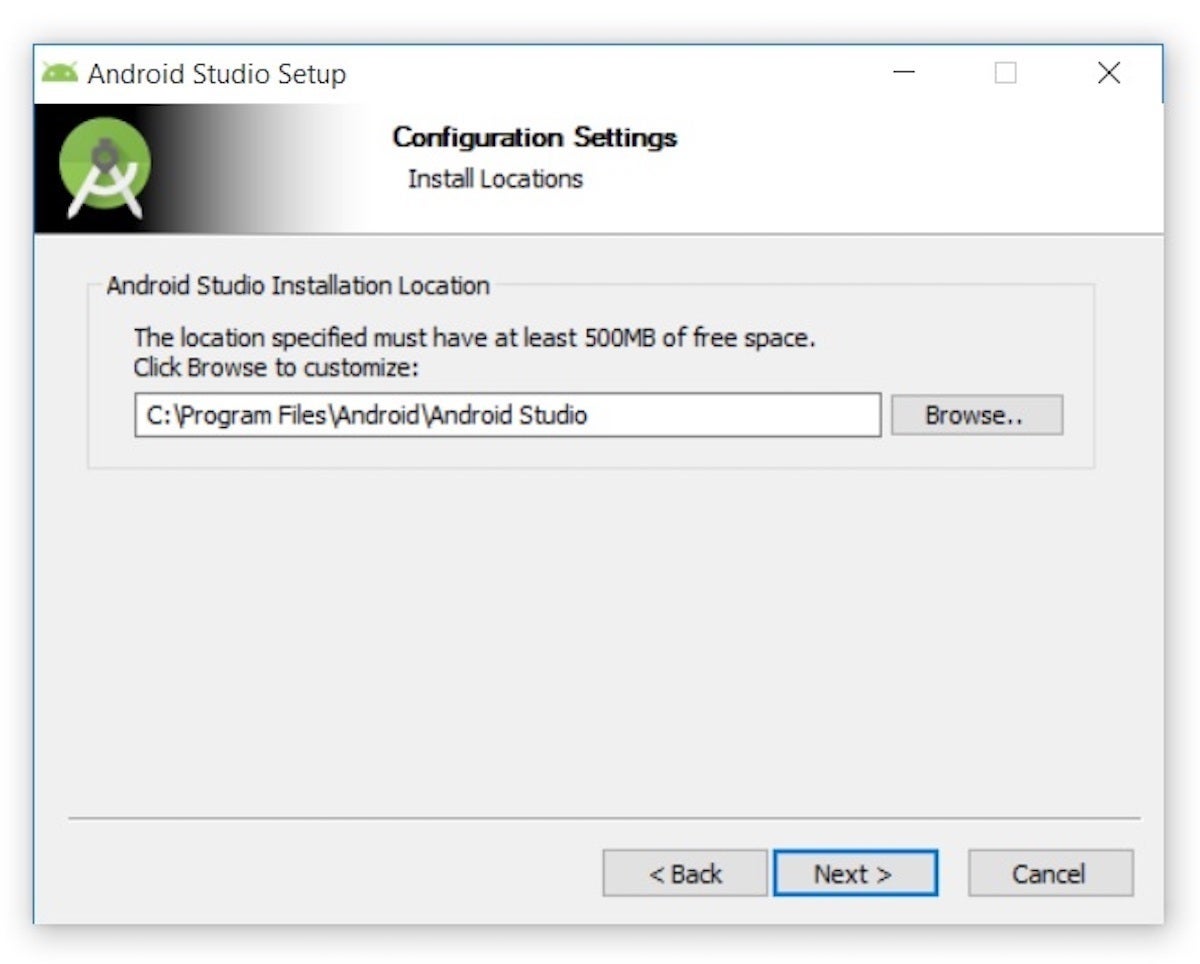
I chose to keep the default settings. After clicking Next, I was taken to the Configuration Settings panel, where I was asked to choose where to install Android Studio.
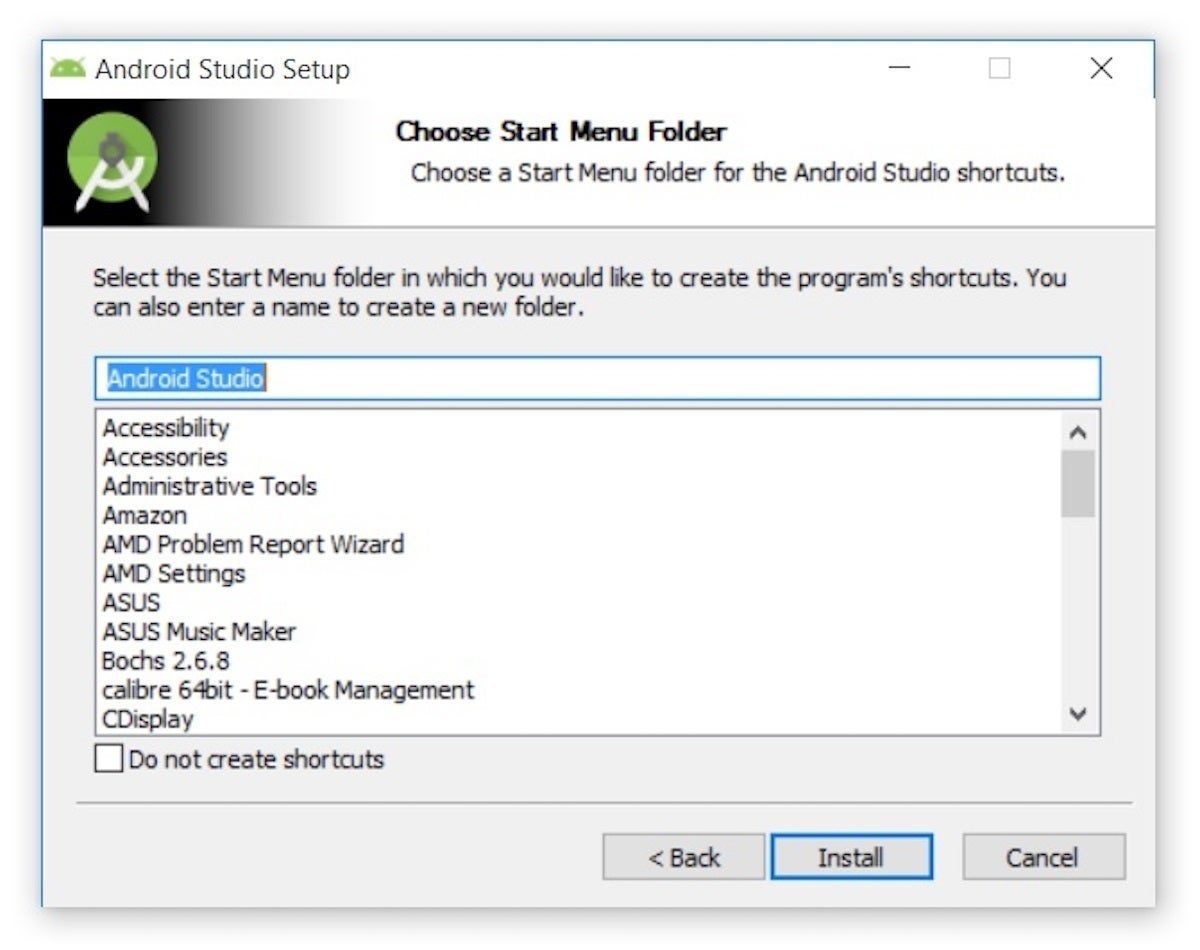
I kept the default installation location and clicked Next, and was greeted with the Choose Start Menu Folder panel.
I kept the default setting and clicked Install. The following Installing panel appeared:
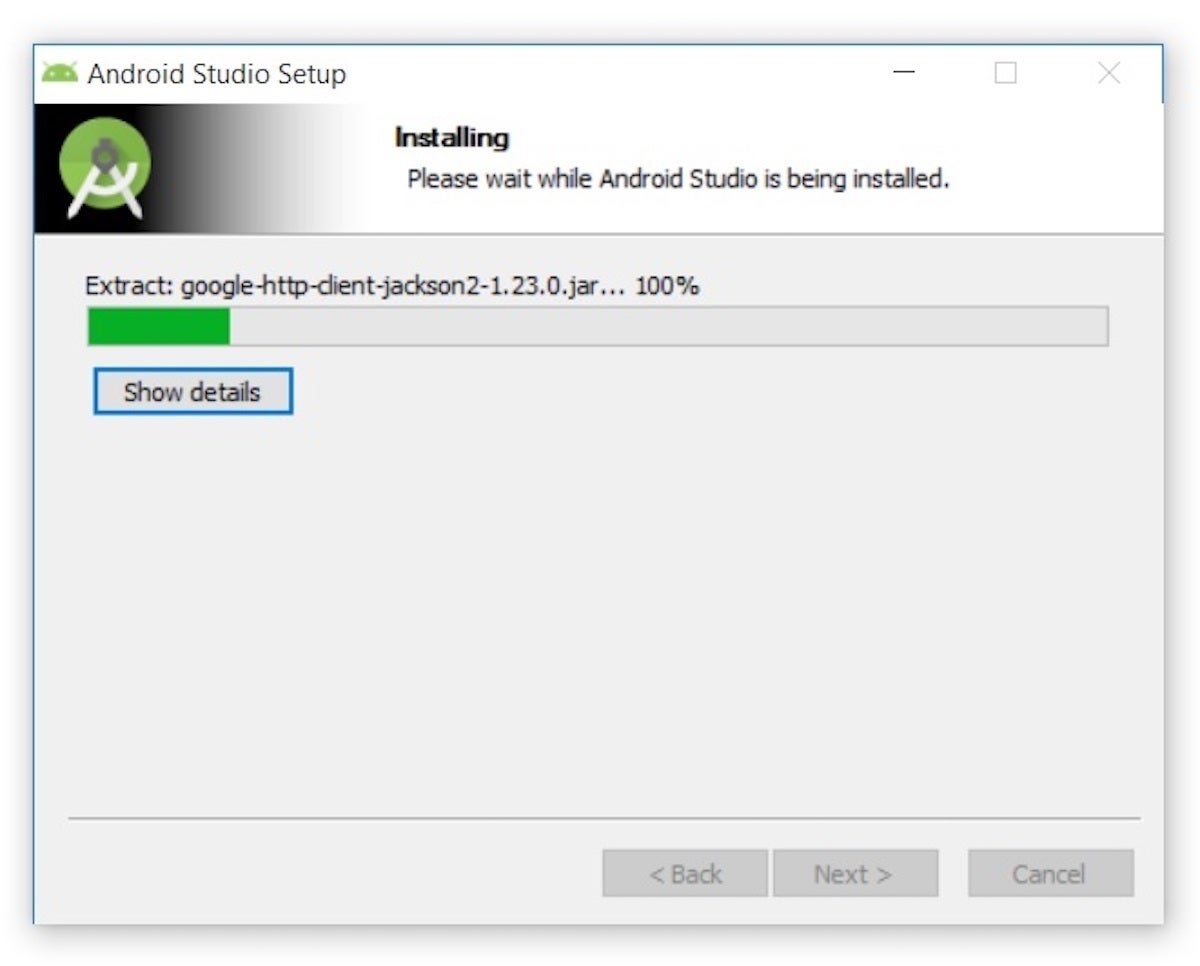
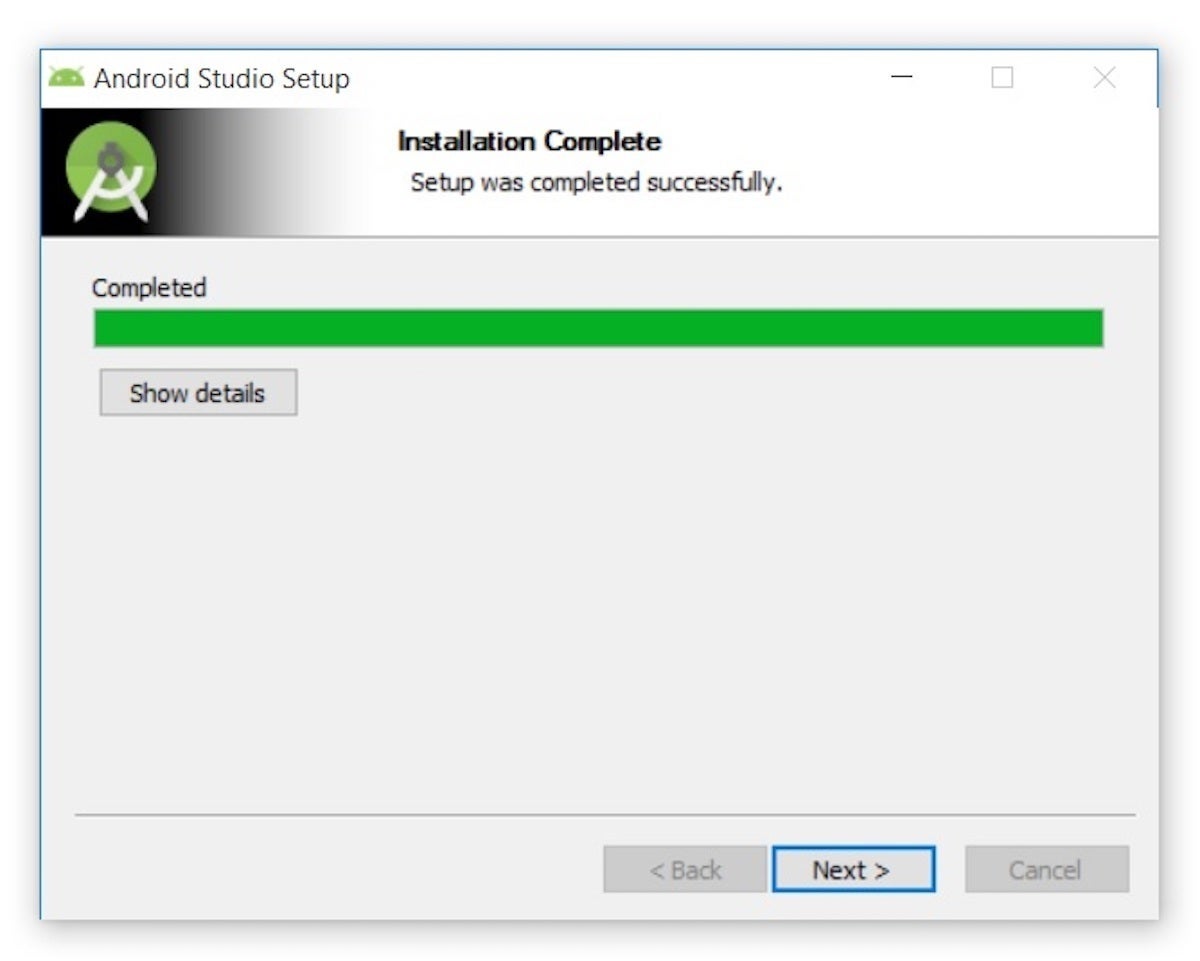
Clicking Show details causes the names of files being installed and other activities to be displayed. When installation finished, the Installation Complete panel appeared.
After clicking Next, the installer presented the Completing Android Studio Setup panel.

To complete the installation, I left the Start Android Studio box checked and clicked Finish.
Running Android Studio
The first time Android Studio runs, it presents a Complete Installation dialog box that offers the option of importing settings from a previous installation.
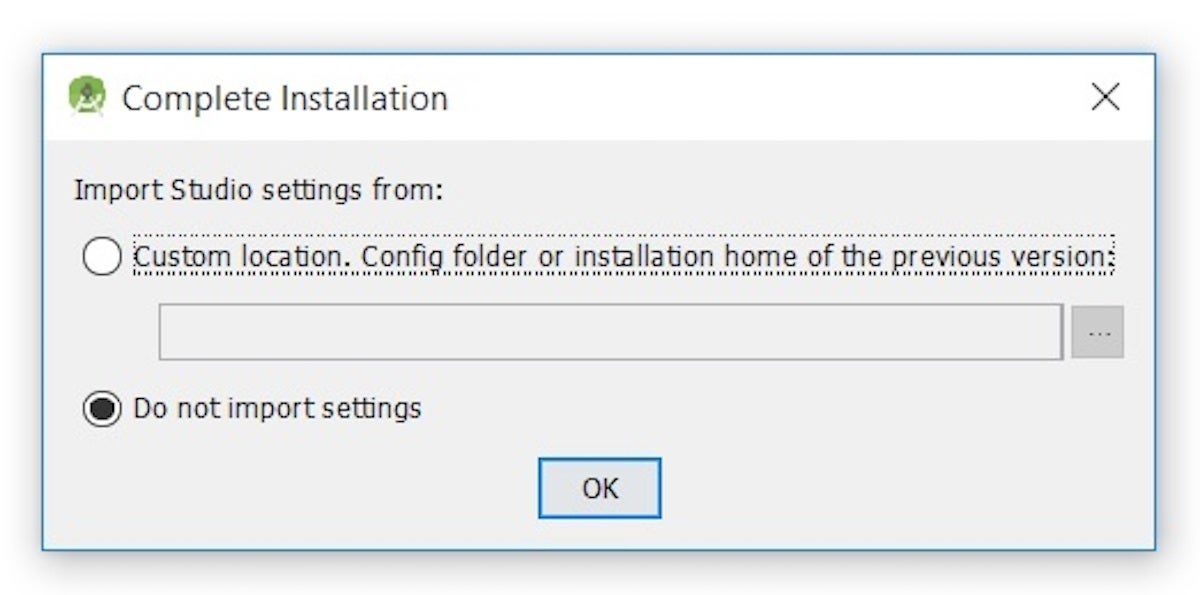
I chose not to import settings (the default selection) and clicked OK, and was rewarded with the following splash screen:

I also observed the following Finding Available SDK Components message box.

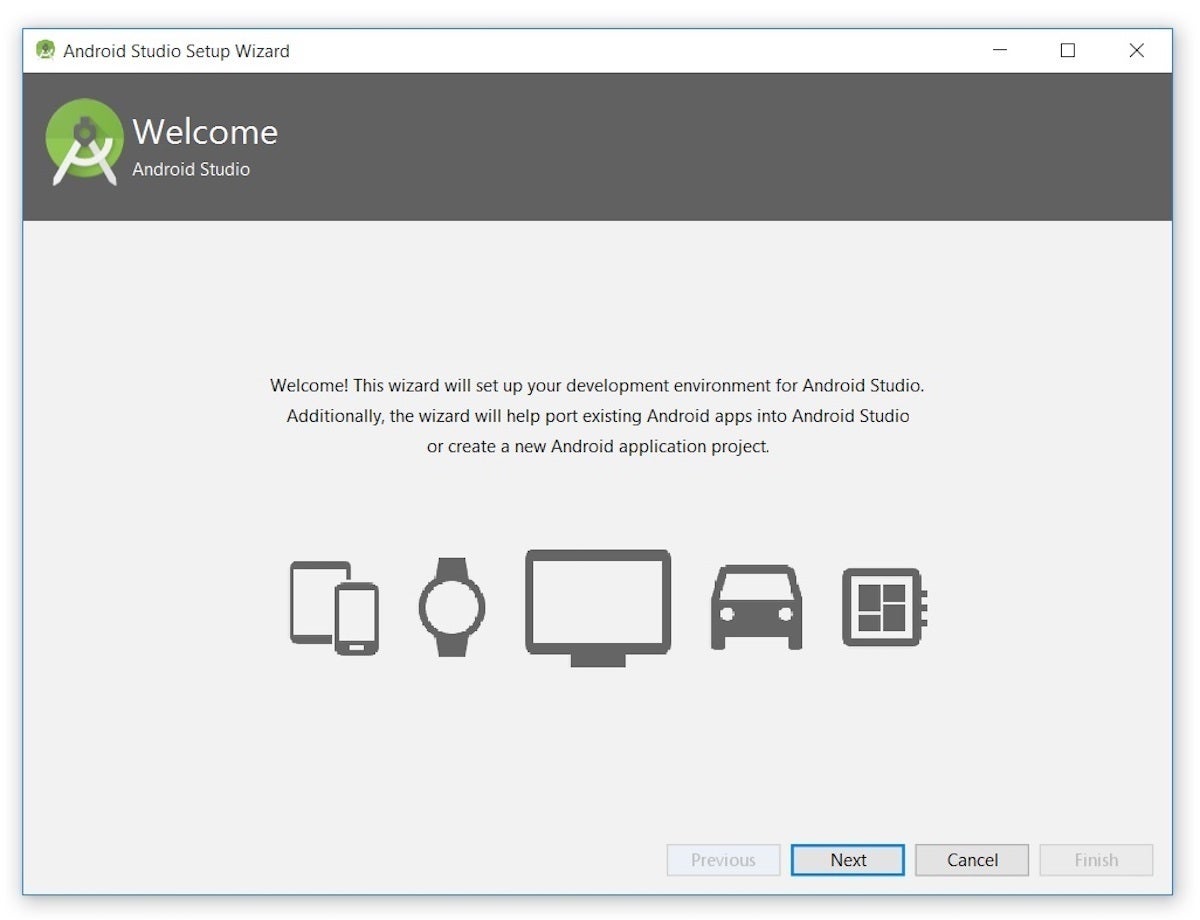
At this point, Android Studio presented the following Android Studio Setup Wizard dialog box:
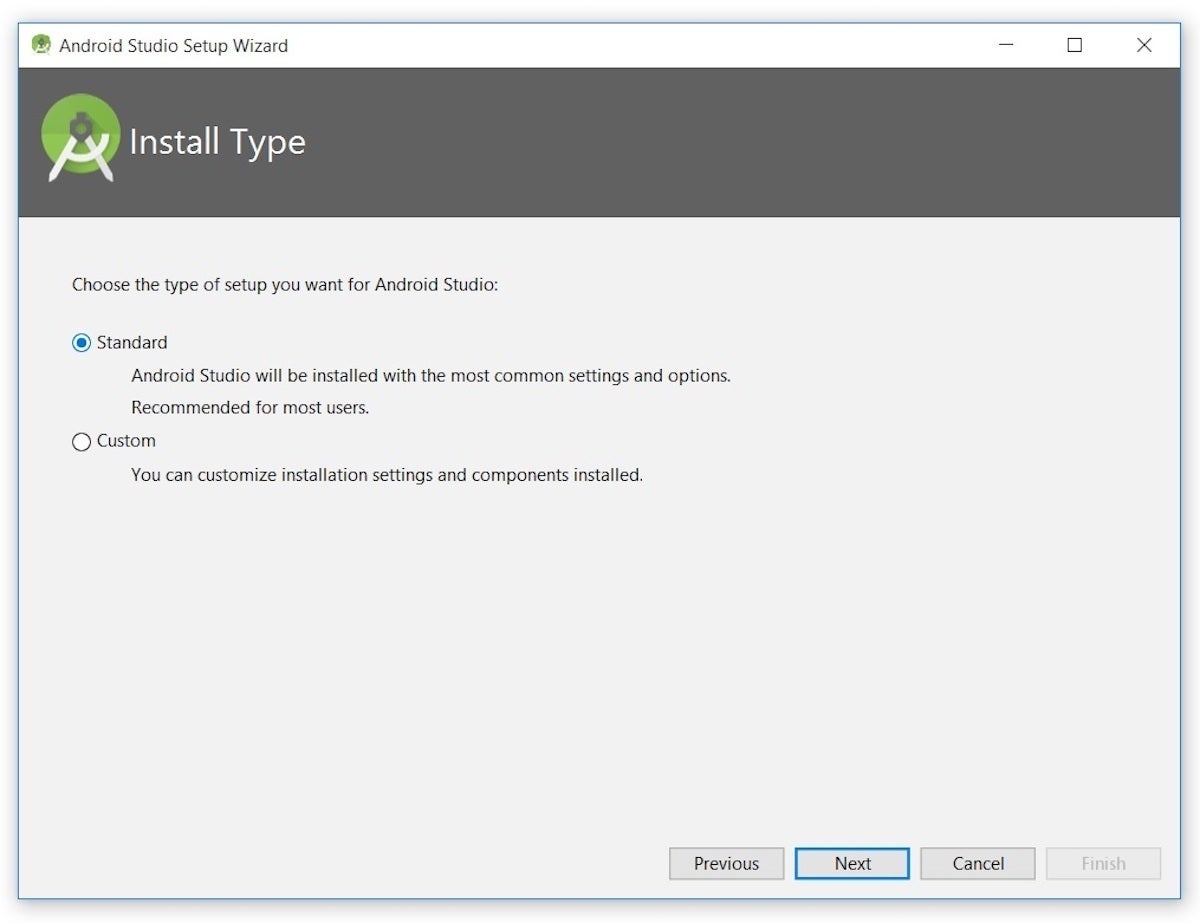
I clicked Next, and the wizard invited me to select an installation type. I kept the default standard setting.
I was then given the opportunity to choose a user interface theme.
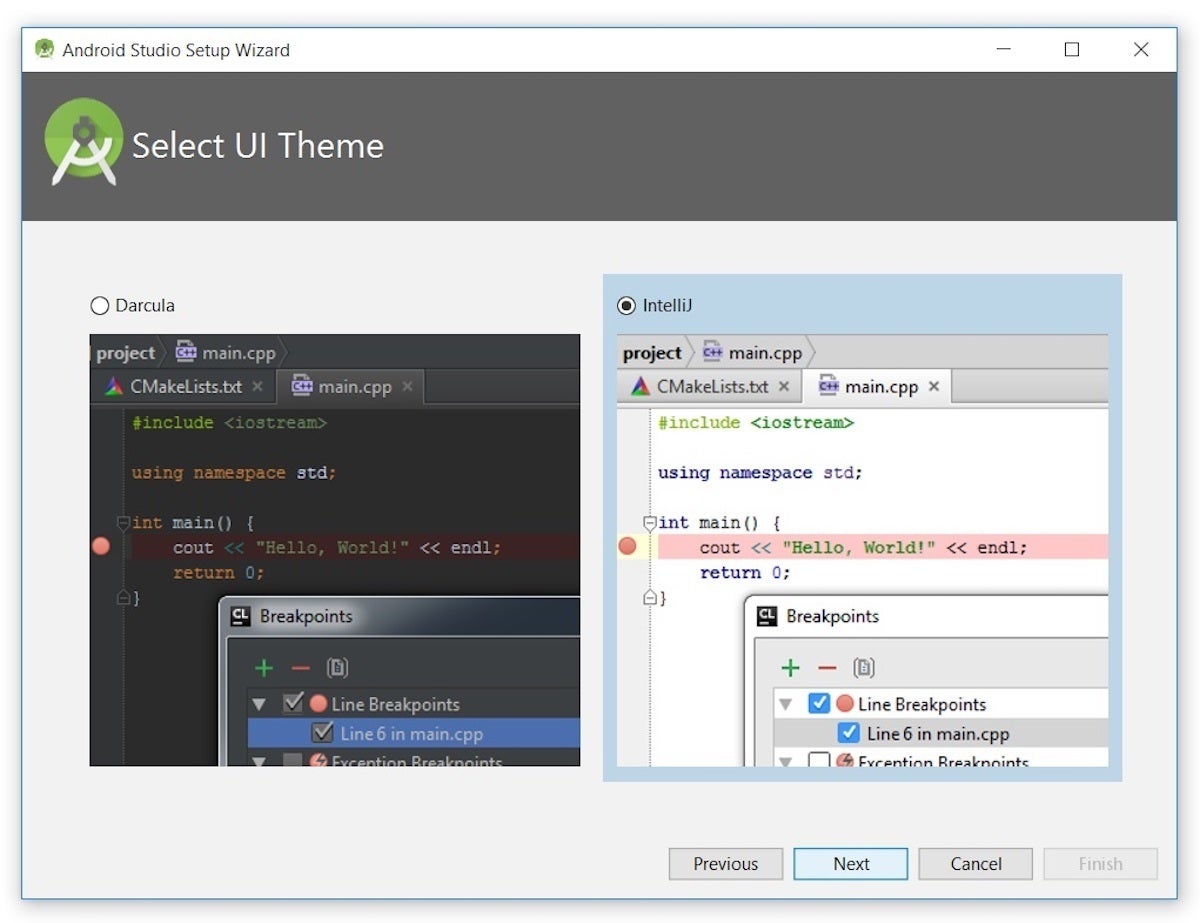
I kept the default IntelliJ setting and clicked Next. Android Studio next provided the opportunity to verify settings.
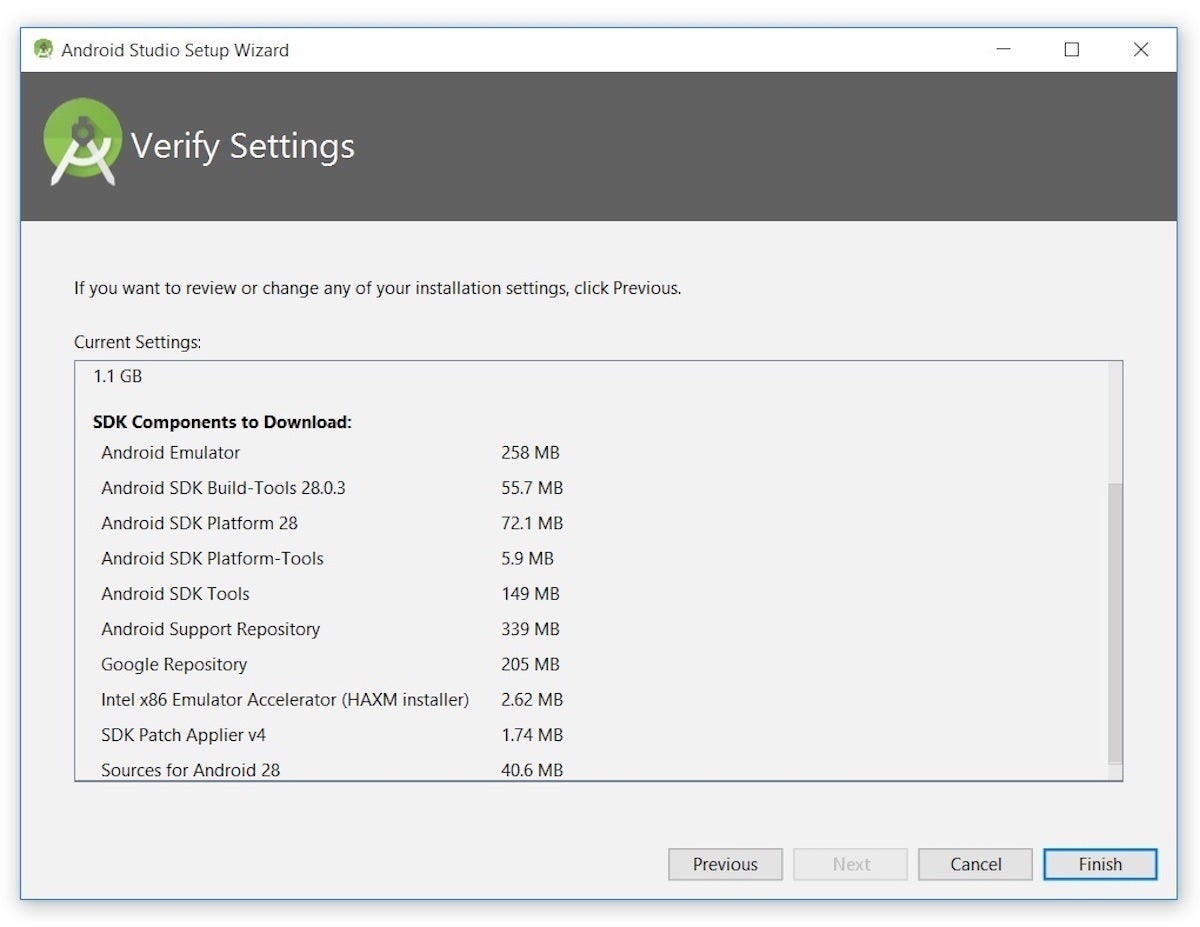
I clicked Finish and Android Studio began the process of downloading SDK components.
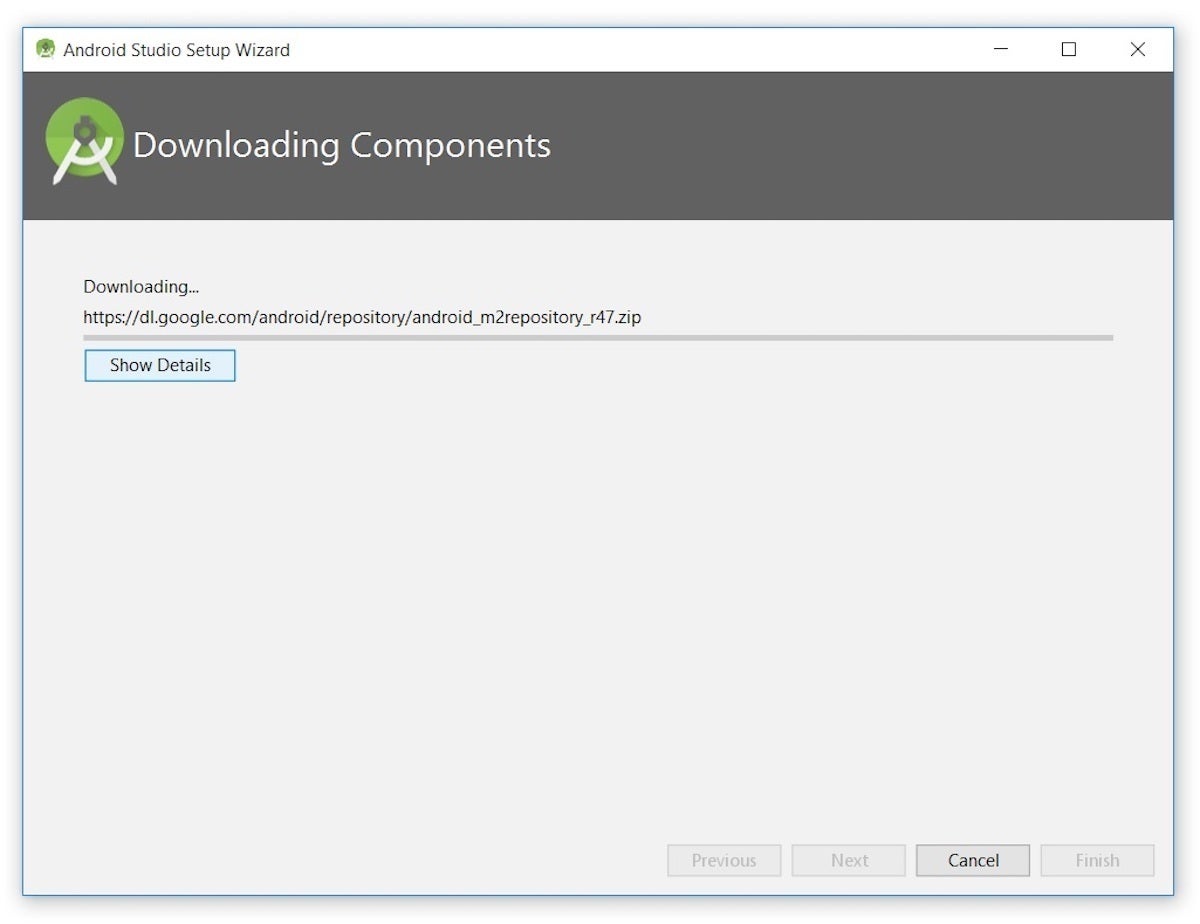
It can take several minutes for this part of the setup to finish. Clicking Show Details might relieve some boredom by revealing the various files being downloaded and unzipped.
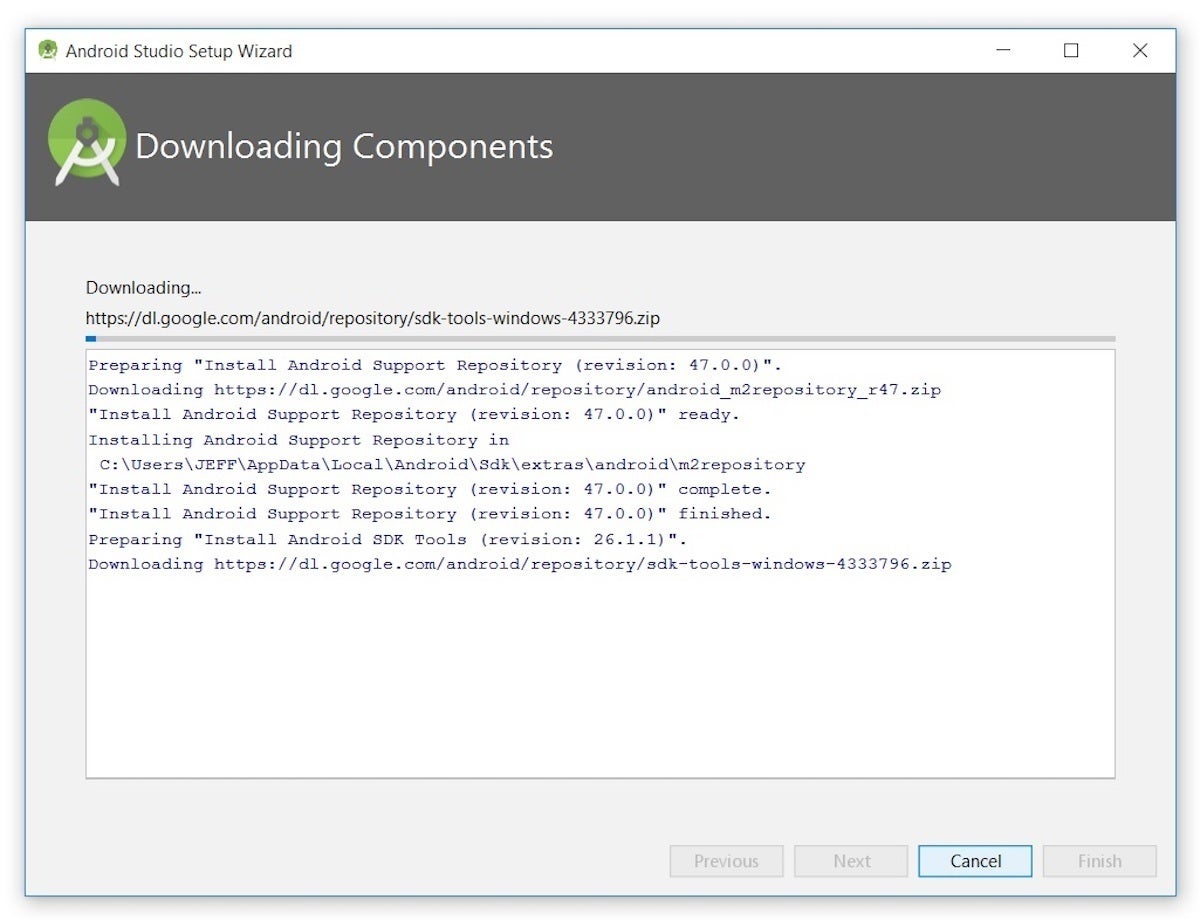
Figure 16. The wizard identifies the various archives being downloaded
For my AMD-based computer, an unpleasant surprise awaited after the components had completely downloaded and unzipped:
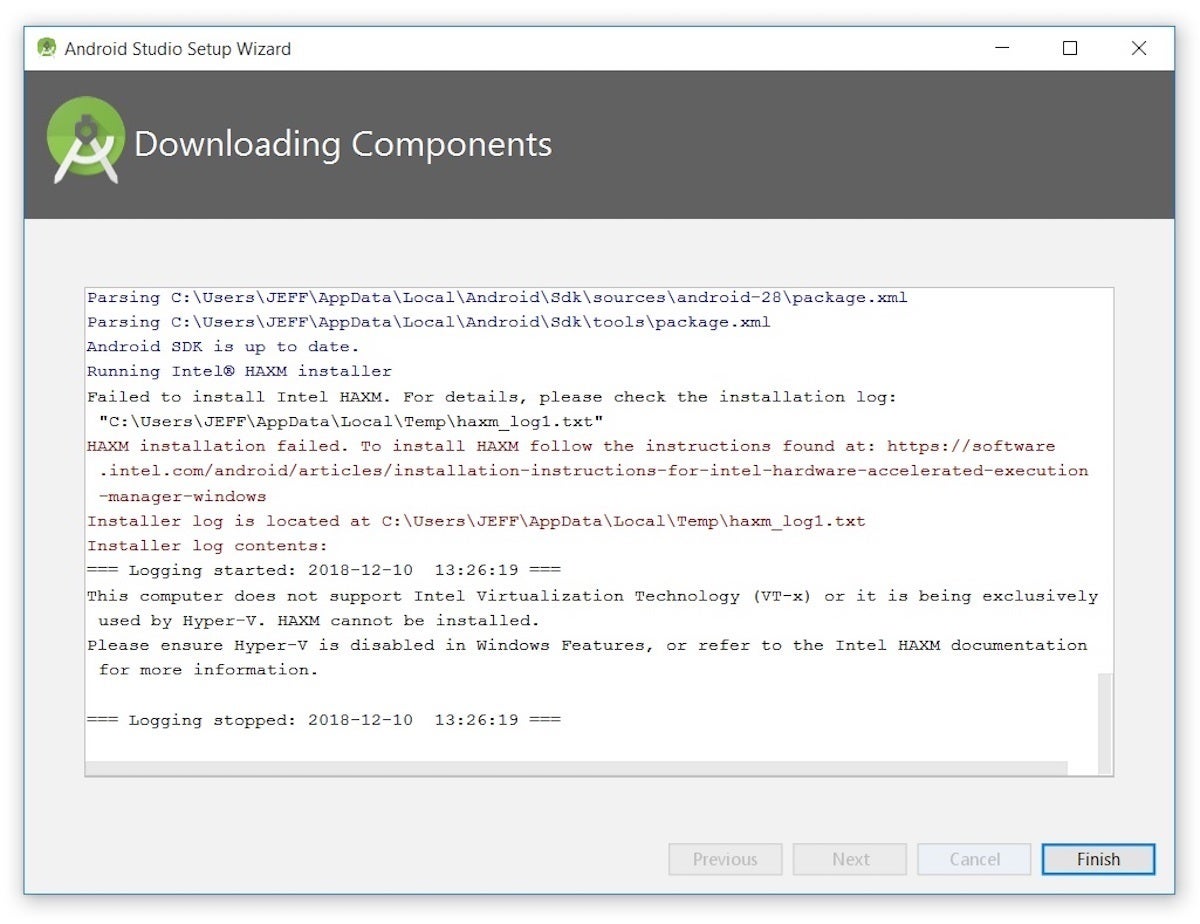
My options are to either put up with the slow emulator or use an Android device to speed up development.
Finally, I clicked Finish to complete the wizard. The Welcome to Android Studio dialog box appeared.

Figure 18. Android Studio(4.1.0) landing screen
The Welcome to Android Studio dialog box appeared.

nice bro i saw your question on quora and i answered it if you have not seen it go see it now
ReplyDeleteThanks Anurag
Delete